Link, Link. Who's Got the (properly formatted) Link?
Links are how your students navigate your course content. While it might seem like a picayune matter, knowing how to set links up properly will have a pretty big impact on how quickly and easily students can start interacting with all the great content in your course (and it’ll increase your Canvas Ninja factor considerably!).
NOTE: This episode was updated in January '22 to reflect the new rich content editor.
Finding Your Regional Distance Education Community
What if you could meet regularly with peers from neighboring community colleges to share solutions and ideas about online education? For faculty and staff at California community colleges located in southern border counties, this wish has come true.
The San Diego/ Imperial County Community College Association (SDICCCA) has an Instructional Services subcommittee on Distance Education that was founded in late 2012. The subcommittee is made up of Distance Education representatives from nine community colleges in the San Diego and Imperial County area. SDICCA members meet at the San Diego Community College District offices on the first Friday of each month. Together, we discuss and provide leadership on DE issues such as practices for supporting and preparing faculty and students, strategies for improving student retention and success, as well as effective practices for meeting accreditation requirements and state/national distance education regulations.
Finding My Community
As the new DE Coordinator for Palomar College, I just started attending these SDICCA meetings this year and I have learned so much from the other long-time members of the group. For example, since community colleges are making compliance with accessibility laws and regulations a big priority this year, we have explored ideas for handling vendor software that is out of compliance. Here are a problem and proposed solution that I have taken away from my experiences. Many mathematics instructors use MyMathLab in their online classes and, currently, MyMathLab does not meet the minimum acceptable standards for accessibility. SDICCCA members shared with the group other software that may be substituted such as Knewton or MyOpenMath, which has some accessibility issues but not as many as MyMathLab.
In our last meeting, each college DE representative shared something about the various software packages they were using to support DE classes. Together, we discovered:
Many colleges in our region are looking at third-party tools to augment the discussion board feature in Canvas. These tools include Harmonize and Notebowl, which deliver more social learning experiences with multimedia integration. Also, VoiceThread is already being used by some for multimedia discussions and student-generated projects.
Palomar College is making use of Proctorio, a remote way to proctor exams and it was noted that Proctorio is available at no-cost to those at OEI consortium colleges.
In addition to discussions around key themes, members share concerns about DE issues, report back to each other on what is happening at the state level, and they give an annual presentation to administrators to help them understand the benefits of online education, as well as the challenges we confront in expanding this teaching modality.
I highly recommend that other regional community colleges form DE groups of their own. The sharing of ideas, concerns, and technology with each other are extremely beneficial!
Opening Doors to Support all Online Students
The Current State of Support for Our Fully Online Students
If you haven’t done so already, take the time to pretend you are a fully online student and try to navigate the many tasks that students need to do on a regular basis. What do you find? Are the services available to our online population equitable to those that are available on-ground at their college campus? What is the web presence like of your college's critical student services? Which students are utilizing the services and which students are not and why? These are the many questions that we must ask when evaluating our distance education programs. On my campus, online course offerings are the first to fill but in turn, they have inferior success rates than our on-ground courses. Many times these students find themselves staring at a closed door looking for support that is limited.
What Online Support Should Look Like
Online support should be equitable to services offered in person. As an example, on my campus, we have a financial aid lab for students to get help with their FAFSA or navigating their online financial aid portal. Is this same support available to our online student population? If not, how can we provide this resource to our online student population? Maybe the solution involves leveraging the staff that currently work in the financial aid lab but have them utilize Cranium Café to offer the same services remotely. Additionally, we offer many workshops on all topics on campus but nothing online except for the orientation. What if we recorded all of our workshops and made them available online? Or better yet provide a distance option for students to participate remotely with our students that are on-ground.
Online Support Supports All Students
Online Mental Health (MH) services provide anonymity, creating a safe environment to receive services. Once a student has participated in MH services online they may be more likely to reach out for additional support in person. In addition to MH services, other support services like tutoring, other health center services, special resource center or other services may have a stigma attached to them and preclude students from seeking help in person where they may feel comfort in reaching out online.
Inclusivity
This means providing the tools and support services for all of our students regardless of their background or how they are taking their courses. Online students must also be included in all of our equity conversations.
With all the buzz around Guided Pathways, how are we implementing the concepts of the 4 pillars for our online students? Online students also need to be able to enter the path easily, have clarity in their path, have the support to stay on their path and to also ensure their learning on the path.
Cross-College Student Interaction Using Flipgrid
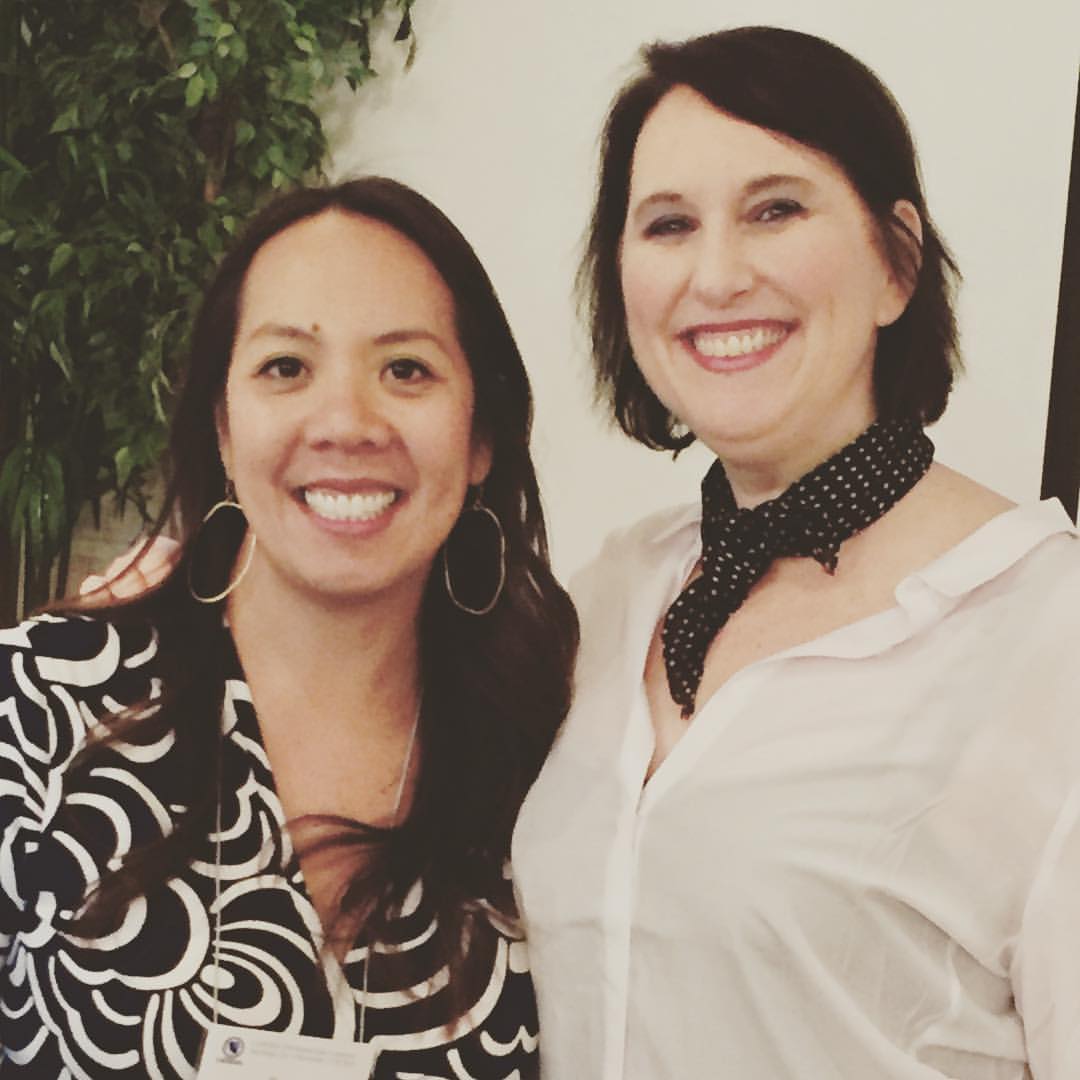
We are a pair of community college ESL teaching veterans, world travelers, lifelong learners and former City College of San Francisco colleagues, who continue to collaborate despite our current North-South (San Francisco-San Diego) divide. We stay connected by a daily stream of text messages and social media posts, encouraging one another in our interconnected personal and professional lives. We share everything from our latest workshop and presentation slide decks to shopping selfies, vacation photos and videos of our newest dance steps and gym moves. Last semester we decided to share the love with our students, and expanded our use of a tech tool we both regularly use, Flipgrid, a free tool that enables asynchronous interactions in video using a webcam or a smartphone.
Both of us were teaching a class that fosters listening and speaking skills, Denise with an Intermediate-level Credit class at San Diego Miramar College, and Daya with a Beginning-level Non-Credit class at City College of San Francisco. Both of us were also using Flipgrid as a tool for our students to record authentic videos to extend course content, build community between students, and practice communication skills. One day after informally sharing what we each doing in our classes, it dawned us that our our classes could collaborate together on one shared Flipgrid!
Quickly, we put together a new grid called “Visit SF/SD”, and we created our first shared topic with the instructions, “Where should we go if we are visiting San Francisco or San Diego? Tell us where to have fun and why you like this place.”
Excited students!
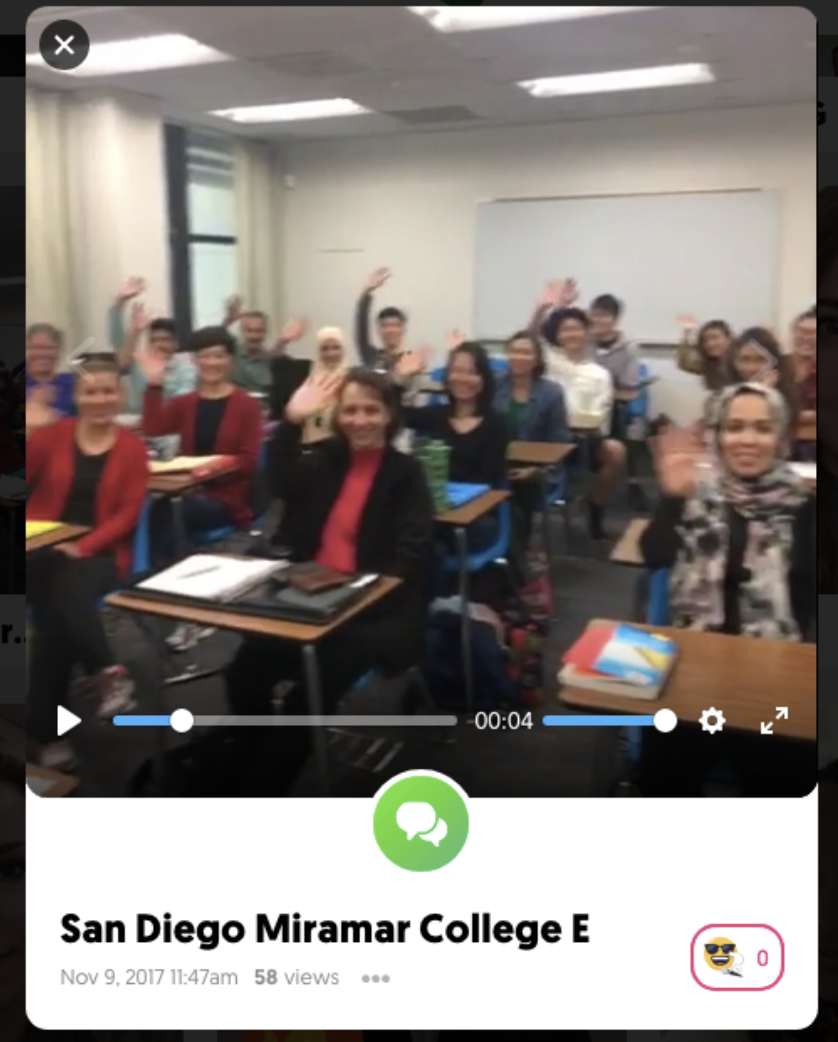
When we announced this to our classes, they were immediately excited to share places in their city and learn about one another. Denise knew it would be a hit when she recorded a group hello from her class at San Diego Miramar College.
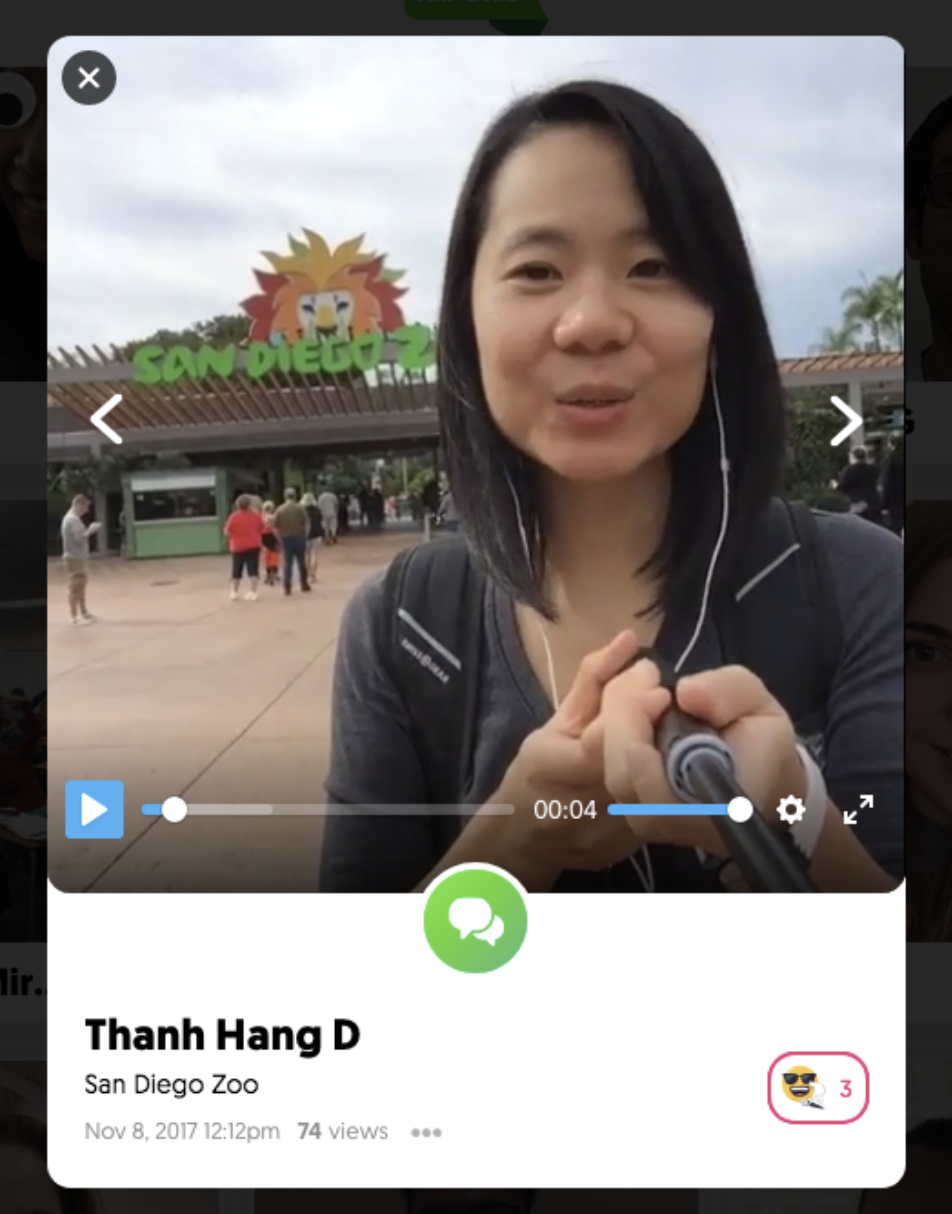
As the posts began rolling in, we realized how this provided an excellent opportunity for students to “show off” their city and their speaking skills with other students outside their own classroom walls. Students posted about favorite restaurants, special parks and famous landmarks. They recorded their videos on the top of a mountain, in their cars, at home, and in the back of the classroom. One of Denise’s experienced students took us on a live tour of the San Diego
One of Denise's students provided a tour of the San Diego Zoo.
Zoo, and one of Daya’s students, on her first day attending class, stood in the hall and encouraged visitors to come to her favorite spot in San Francisco, City College! No matter where they recorded or what they shared, all students were engaged and enthusiastic, practicing their presentations many times, for increased language mastery and confidence.
Daya’s class watched Denise’s class on the big screen and students were inspired by their peers’ fluency. They felt connected and inspired. And they felt more curious about this other California community, motivated by global learners like themselves committing themselves to their education.
Overall, we found this to be such a wonderful collaboration, that we are planning to incorporate it in our fall semester classes as well.
6 Tips for Class-to-Class Collaborations with Flipgrid
We have identified a few tips for for a successful collaborations:
If you use Canvas, forego using the Flipgrid Integration for your collaboration, as it will only allow students enrolled in your course to participate in your Flipgrid Topic. Instead, create an Assignment, enter "No Submission" for Assignment Type, and include the link and password to your Flipgrid Topic in the rich content editor below the Assignment title.
Before your class-to-class collaboration, use Flipgrid with your own class. Before our collaboration, both of our classes were already familiar with Flipgrid, which made students more comfortable with collaborating. This approach lessens the students’ cognitive load and calms nerves that can come along with using a new tool.
When you introduce Flipgrid to your students, use a prompt that invites all students from participating classes to join in. It’s fun to see the other class setting, and the smiling faces of the professor and students.
For your class-to-class collaboration, choose a topic that allows students to “show off” their expertise in their college or city. Then move into other more content-based topics.
Find ways to support students who are less comfortable with the platform. If you're teaching a blended or face-to-face course, allow students to work alone or in pairs. For those who aren't comfortable showing themselves on video, provide the option to show a video tour and simply narrate it with their voice.
Flipgrid is a wonderful way to build a learning community, within a class and between classes. In addition, our students love sharing their grids with their friends and families, here in California and back in their home countries. Once the semester finishes they leave the class with a record of their learning progress and memories of classmates near and far.
Don't Panic! 3 Tips for Your First Online Course
Designing an online course can seem like a very daunting task. But, if you break your task down into smaller bits that are more manageable, you will find it much easier. I find that using some basic Project Management strategies can really help you get through the process. In online courses there is more front-end work and planning compared to a traditional face-to-face course. The plan you create should have three major components; define your project, break it down, and estimate your time. Applying this process will simplify your task, and help you produce a well-constructed “back bone” for your course.
The 8 1/2 minute video below provides you with a visual tour of the three steps summarized in this post.
Step 1: Define Your Project
On paper or a spreadsheet, start by defining your project. Consider these questions:
What are the dates for your course?
What resources are you using (textbooks, test banks, etc.)?
Are there any major holidays or breaks to account for?
I like to start this process by making a spreadsheet divided into weeks with the start and end dates clearly defining each “bucket” or module. Within those modules I first determine if there are any special events that I need to be aware of. For example, Thanksgiving week is always a week where many people travel, so I try to assign very little work that week and plan around it. I also label finals week to ensure I am not assigning work that week. This will depend on your campus standard practice: if there isn’t work in a traditional face-to-face class that week on campus then I don’t want to include any in my online class either.
Next, I want to really think about what the course outcomes are and how I plan to design a learning experience to ensure my students meet them. For most of us, we know what we are assessing and what we want to accomplish. Sometimes, additional thought and structuring must be put into assignments to ensure they are appropriate for the online environment. This can be the case for certain types of traditional assignments like term papers, presentations, or projects that need special instruction. If you need support, contact your campus distance education folks or explore the @ONE blog for ideas.
Step 2: Break It Down
After defining the project, it is important to break it down into manageable parts. Using Canvas for your online class, typically means breaking down the coursework into Modules. I usually create a weekly format that goes from Monday to Sunday. I divide the book chapters to fit within the weeks allotted with one extra “Start Here” module. Remember to check in with your distance education folks as they may have a boiler plate template that you can edit.
Step 3: Estimate Your Time (x2)
Once I have all the above information I move on to my last step, which is budgeting my time to get the project completed. This will largely depend on your familiarity with Canvas, instructional resources available to you, and the technical requirements for your course. Try to double all estimates for your time until you have a better feel for the actual work. Some aspects of any project will take more time and some will take less. I encourage you to spend time searching for and getting to know the distance education resources available at your college, and others like @ONE and the OEI.
All in all, creating an online course will help you examine your role as an educator and reflect on how to take your students through a journey of learning. That process can be daunting and can seem like a large mountain to climb. But, if you pre-plan and think about it with some basic project management tools, it will make the end result better and will allow you to work through the project one piece at a time instead of trying to build a proverbial house without plans.
Equitable Online Course Design: Canvas Mastery Paths and EdPuzzle
In April of 2018, Merced College was accepted into OEI’s Consortium, in the Online Equity Cohort. We are very pleased and excited. We have set out to explore innovative approaches to promote equity in our online course designs.
If you have taught for a while, you know that your classes are populated by an array of diverse leaners. You may have a student or two who gets it all right—on the first try, every time. But you very likely have students who don’t pass on their first attempt. “Second chance” opportunities can support them to re-study, review and try again. Every student needs to build skills and competencies; and finish your class feeling enriched, accomplished and ready for the next challenge.
What Is Canvas Mastery Paths?
Use the links below to jump to different topics in the video above.
Canvas Mastery Paths is a feature in Canvas that allows instructors to set criteria for redirecting lower-performing students to supplementary or remedial activities (view the helpful Canvas Guide for Canvas Mastery Paths). Suppose, for example, after a summative assessment such as a unit exam, the instructor finds that some students passed; while others “barely passed” and some failed the exam. Mastery Paths allows instructors to redirect the students to varied levels of remediation. Those who achieve acceptable (“passing”) scores of, let’s say, 70% are not redirected for remediation. those who “barely passed”—e.g., scored between 60% and less than 70%--could be redirected to complete supplementary remediation at a moderate level. Finally, those who did not pass with scores of at least 60% could be redirected for more intensive remediation.
Practical Considerations for Online Remediation
Relevant Substance
The remedial task or activity should be one that re-teaches content and concepts similar and relevant to that in the primary assessment. For example, I teach Child Development for Merced College. If I give my students an exam about how preschoolers develop physically, cognitively and socially; then any remedial tasks should focus on those same developmental domains. It would be off-point to redirect study toward other topics; unless those are somehow foundational to the content that was not mastered on the exam.
Encouraging
Think about it. Your students just bombed on your exam. How enthused would they feel about being redirected to some labor-intensive, time-consuming, tedious and difficult requirement? We can guess they would feel much more encouraged and willing to do a task that refocuses their attention in ways that are relatively quick, engaging and fun.
Immediate Feedback
Canvas Mastery Paths is very versatile. Students could be redirected toward just about any assignment or task. An instructor could, for example, have students write an essay, or create a slide show, to demonstrate that they have reviewed the content and their comprehension is now significantly improved, since the exam. However, any such assignment requires instructor grading, which of course takes time. To facilitate quick feedback, I recommend remedial tasks that can be auto-graded in Canvas, such as quizzes.
Advantages of EdPuzzle
EdPuzzle allows users to upload educational or other videos from virtually any source, such as YouTube, Khan Academy or even teacher-created videos. The free version of EdPuzzle works just fine for this stategy, but there are premium account options too with additional features. Instructors select videos with content appropriate for their current teaching needs and augment these using EdPuzzle tools. With EdPuzzle, instructors can program a video to pause at strategic points, where questions or explanatory audio notes can be inserted. Therefore, when your student views an EdPuzzle video, the playback pauses at strategic points and the student is challenged to answer questions displayed to the screen (and/or listen to your prerecorded comments). Video is a very familiar and popular medium for most students today, which makes it an appropriate learning tool.
These features make EdPuzzle an effective approach for remediation, as well as other teaching methods. Let’s say, for example, that a student scores poorly on an exam. Presumably that student could benefit from a guided, focused re-study and re-assessment experience. An EdPuzzle—which in effect is a video quiz—could be ideal for this purpose.
Want to see how all this works? View my video overview of this teaching practice (also see the quick links embedded at the top of this post to help you navigate the video topics).
Hand in Glove
Therefore, when EdPuzzle is embedded into a Canvas quiz and used as the remedial method in Canvas Mastery Paths, low-scoring students can be automatically redirected to a fun and relatively easy, focused re-study and re-test opportunity, with a chance to recover a portion of the points missed on the recent exam or assessment.
EdPuzzle via Mastery Paths is an equitable strategy that gives your lower-scoring students a “second chance” at success in your course.
If you have any questions about this teaching strategy, please leave a comment below. I would be happy to answer them.
Meaningful Discussions That Build Community Too
Do you wish your students would engage more meaningfully in your online discussions? If so, you might want to reconsider how you are designing your discussion prompts. In this 7-minute video, Stacey Smith from Coastline College, shows how she designs discussion prompts that elicit real life examples from her students. Stacey's end-of-semester surveys show high student satisfaction levels with the discussions and a strong sense of community.
From Reluctant to Ready: The Power of Support for New Online Teachers
I’ve been teaching in the classroom full-time for 17 years and I feel things are shifting. One of the classes I love to teach has had an enrollment drop as more online classes have been added. I’ve heard many colleagues over the years complain about their online students and how they aren’t prepared. I’ve also had colleagues who started teaching online years ago and set up their courses to do the absolute minimal. For me, part of the joy of teaching is being with people and watching my students’ eyes light up when they get “it.” These are some of the reasons why I really didn’t think online teaching would ever be for me.
Adapting to Change
I feel certain the pendulum will at some point swing back to students wanting to be in the classroom more than online, but I’m not sure when that will happen. I do know that online provides opportunities for many students who can’t be in a traditional classroom and I love the idea of making classes accessible to them. The bottom line is I knew if I didn’t jump into online teaching now then I was closing the door to learning a different style of teaching. With a desire to teach for another 17 years, I thought it was too soon to not change with the times.
It’s accurate to put me in the “reluctant online teacher” category. I am tired of the grind of the commute which continues to get worse every year and I see how teaching online will reduce the hours in my car. Therefore, I decided I was going to give online teaching a real chance. If I was going to take the plunge to build an online course I was going to make THE BEST course I possibly could, and I was going to do it the right way the first time.
Finding Support with the Online Education Initiative
My college is a member of the California Community Colleges Online Education Initiative (OEI). As a faculty of an OEI college, I have the opportunity to teach online courses through the Course Exchange, which reserves a specified number of spots in my class to students at other CA community colleges. In order to be in the Course Exchange, however, I first needed to design my course and align it with the OEI Course Design Rubric. I thought if my course could get approval for the Course Exchange, then I would never have to worry about enrollment for my online course.
Therefore, I signed up for the OEI Course Design Academy online information meeting. During the call, it was evident to me that many of the faculty in attendance had a long way to go before we would be ready for the Course Exchange. More than a handful of us on the call had never taught an online class. To get started, we needed to learn how to develop a course before even thinking about the Course Exchange. So I decided to enroll in an @ONE’s Online Teaching and Design (OTD), a 12-week, online course, to learn the ins and outs of online course design and teaching.
I took this course as if my life depended on it. At about week 7 of the course, I submitted my online course for a peer review, which was the first step in getting my course in the Course Exchange. I worked hard to develop a curriculum (I hadn’t taught this particular course in many years and I decided to build the content myself versus use a textbook that would cost the students a lot of money) and setup my Canvas pages. I used all the information I had learned so far in my OTD course and put it into my own course. I was anxious to hear back from the OEI course review team. A colleague of mine who already had a course in the Course Exchange told me not to worry. I was told that I would get a long list of things that still need to be done with my course, but the instructional designer would help me through it.
Invaluable Peer Feedback
The feedback from the review team, comprised of Aloha Sargent, a faculty member from Cabrillo College and @ONE course facilitator, and Helen Graves, an instructional designer with @ONE and the OEI, was so incredibly encouraging that it motivated me to make the changes. Naively, I didn’t realize how much really needed to get done. However, once I started the process, I knew I really was developing the best course I possibly could. Helen Graves, my instructional designer, could not have been more supportive, encouraging, thoughtful or helpful.
Helen and I had a weekly one hour Zoom conference. Without her, I cannot imagine how I would have developed a course I would be so proud of. She took a tremendous amount of time going through my course with me and explaining how to make it accessible for all kinds of learners. Along the way, she taught me how to use html code to do some very cool things in Canvas and help chunk the information into bite size bits. As a result, my content was more clear and could be understood by more learners. Helen was incredibly patient and even made quick little videos during the week to show me how to do various things within my modules. At times, she referred to her “A Team” colleagues who would magically and mysteriously help me improve my course’s 508 accessibility compliance. I liked to imagine Mr. T behind the scenes helping with accessibility, but I think the real hero on the A Team for my course was Marisa McNees.
I’m Ready
Because of the OEI Course Exchange Process, I was able to make a course that I’m excited to teach. I am confident that I will have the chance to build a community and take care of my students in an online setting. I imagine that it will be fulfilling for my students and for me. I’m extremely appreciative of the instructional design and accessibility support available to me through the OEI , so I could continue to grow as a teacher. This process not only made my online course better, it made me reevaluate how I share information in my face-to-face course and make it better, as well. In the end, it felt like an indulgence to have someone take the time to give considered and thoughtful feedback and be as excited as me about the course I built.